AHHH! I am totally on a
Papercut Patterns kick! I am really loving these designs, so I can't wait to see what else I'll be churning out soon! (Spoiler: I made the
Pneuma Bra during my office's "winter break" and it's *AMAZING*)
A note: I've often held off posting because I haven't taken "good" photos of myself wearing the garment. It's usually an iPhone mirror selfie, and I get all self-conscious about it and don't end up posting. NO MORE! I've got some in progress shots, and dress form shots, and then an iPhone selfie. I don't want to let that stop me from keeping up to date with the things I've made. Deal with it.
May I present to you: the Totally Tubular 80's-tastic Rad Rigel Bomber!!!!

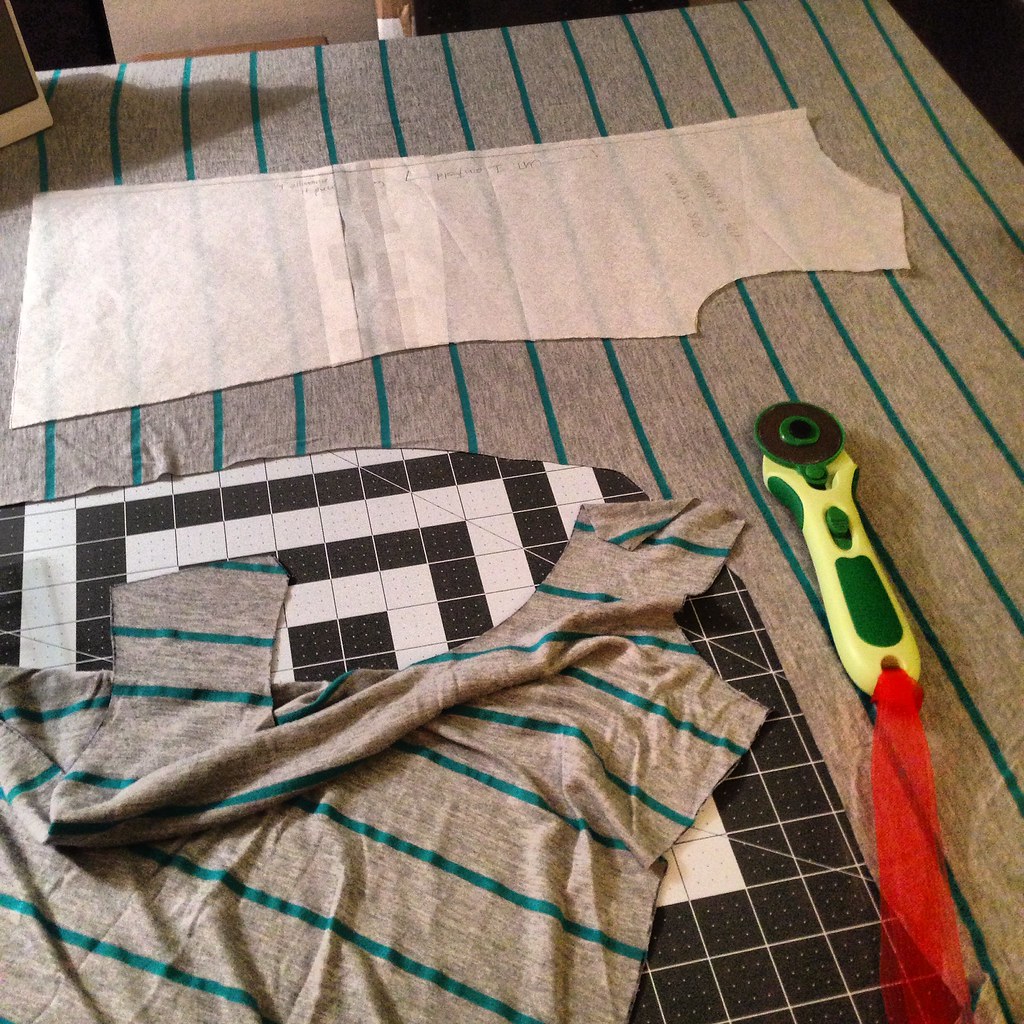
This is a stretch cotton sateen I bought at JoAnn's a billion years ago. I don't know what I was thinking? I am willing to bet it was on sale and I thought I'd make a dress out of it.

Along with everyone else who's made this jacket, I added a lining. I omitted the facings and I followed
Lladybird's lead and used most of
Jen's bagging tutorial, with a minor modification.
This lining is linen. Since this is meant as a light weight jacket, I don't plan on wearing this with anything long sleeved, and could avoid using a slippery fabric for the arms. My next go round will be of a heavier fabric and will definitely include slippery arms!
To that end, Linen loves to absolutely disintegrate, so I serged every single seam as I was putting it together. This means I had a whole "Jacket" ready to go into my shell, and I didn't want to rip open ANY of those linen seams. Doing that would mean eating into the seam allowance on the lining and cause the lining to become unstable.
What I did instead was to attach the lining as instructed for the facings, sewing together at the neck (after the ribbing was attached) and zipper line (after the zipper was installed). I also sewed together at the arms (again, after the ribbing was attached)which was a little terrifying.

At that point, I had all upper points together, and the hem ribbing had not yet been installed. I then treated the lining and the shell as one and just serged the hem ribbing on.

I had never made a welt pocket before. In fact, I now realize when I made my
Minoru, I had wanted to add welt pockets, but failed to find a tutorial for adding them with a zipper.

The instructions included for making the welt pockets are easy to follow! I had tried to do some "research" beforehand by reading tutorials on other blogs, but that was not necessary.

LOOK AT MY WELTS YOU GUYS
And now, here I am wearing it, with matching phone case!


IT'S DONE!