If the photos aren't coming through, click HERE!
Papercut Leggings on my table.
I've had a long list of legging patterns, draft-it-yourself instructions, and other sewist's legging projects around, but I've been pretty intimidated about leggings. I don't know why. I finally just bit the bullet and bought the PDF copy of the Papercut Patterns Ooh La Leggings.
Totally not disappointed, you guys. This pattern is well drafted, and is only 5 pattern pieces! Just FIVE! These were so fast to make up - I did nearly everything on my serger. The fabric used feels like a swimsuit lycra (content was unknown) that I picked up off a remnant table. I think the piece was only 5/8's of a yard, and since this fabric has 4 way stretch, I just folded the other direction and was able to make the below knee length version!
Since the print is pretty busy, the lines are lost. I've got another pair almost finished, and I can assure you that the lines are *very* visible on there! The rise is really high, which I like very much. I plan to wear these to the gym and for backpacking/hiking, so I prefer something that's sitting above my hips.
The waistband insertion is genius - you sew your band in a circle, serge or zigzag it to the top edge of the waist, fold and zig zag down. Done and done. None of the traditional threading elastic through with a hole in the back kind of stuff. I'm definitely going to use this method for any other elastic waist that I can!
You can see the lines (and how pretty the guts are!) from the insides. Here's the front:
And here's the back:
Oh gosh. I realize that these aren't hemmed in these photos. I promise I hemmed them! I just serged the edges, turned up and zig-zagged! If you're unsure about sewing yoru own leggings, or you just want to play around with more knit fabrics - get this pattern!!
Wednesday, December 10, 2014
Tuesday, December 9, 2014
Completed: Renfrew the Stripey!
at
10:20 AM
LOOK AT THAT HEM BAND!
Crowning frigging achievement. STRIPE MATCHINGGGGGGG
Lookit my cowl! OK SEE YOU LATER!
Labels:
completed,
renfrew,
sewaholic,
stripe matching
Monday, November 24, 2014
Rigel Bomber Planzzzzzz
at
8:05 AM
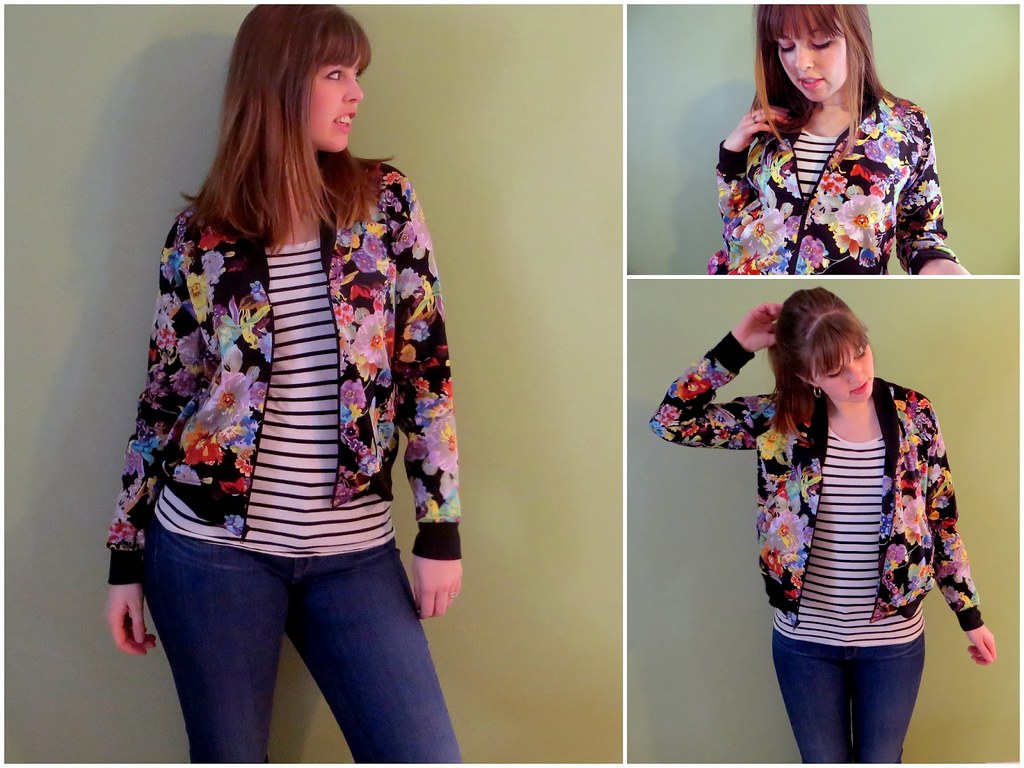
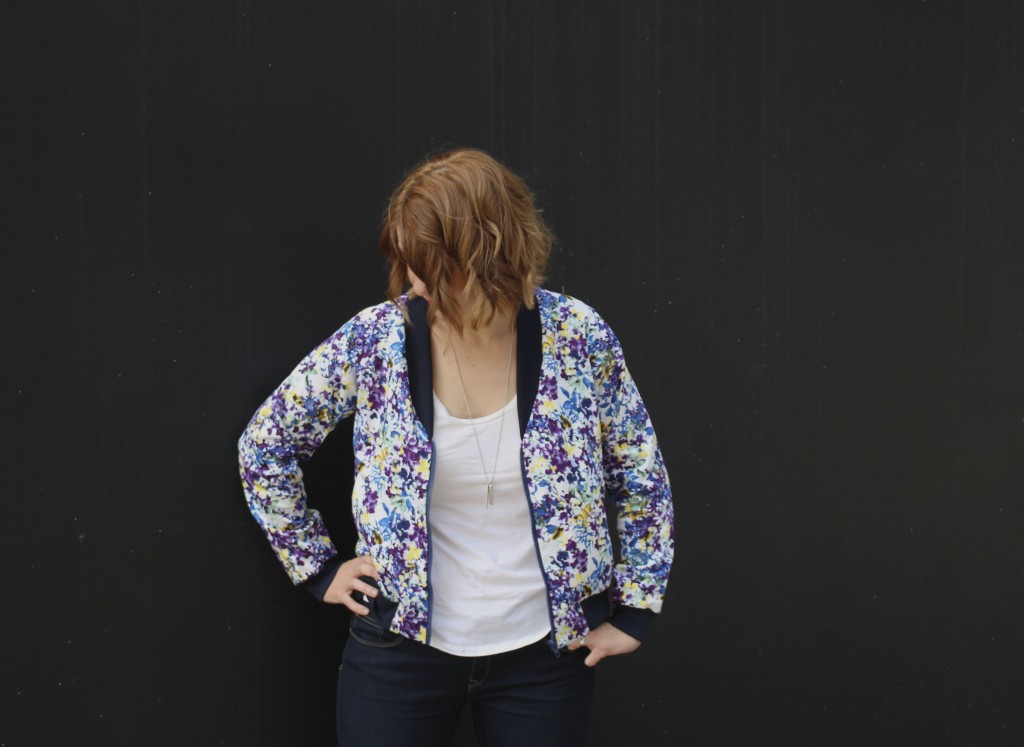
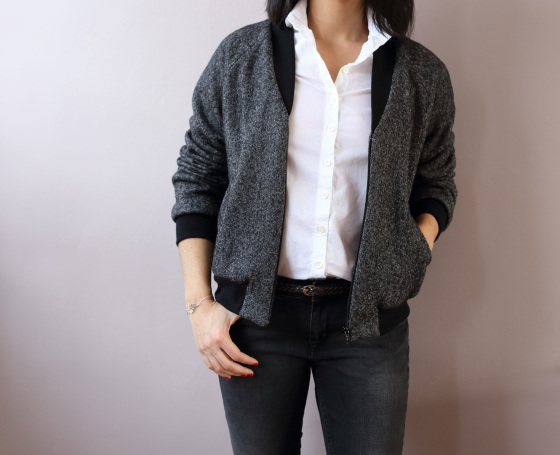
This pattern has been out for a while. I looked at it, then kept moving. Then all of these amazing Rigel's started popping up everywhere. (Click the pics to go to their respective sources!)
And then the Gap started schilling them (which I was going to link to but I guess they're not on sale anymore, so whatever), and I'm not really one for "on trend" but I loves me a jacket, so now this pattern is mine.
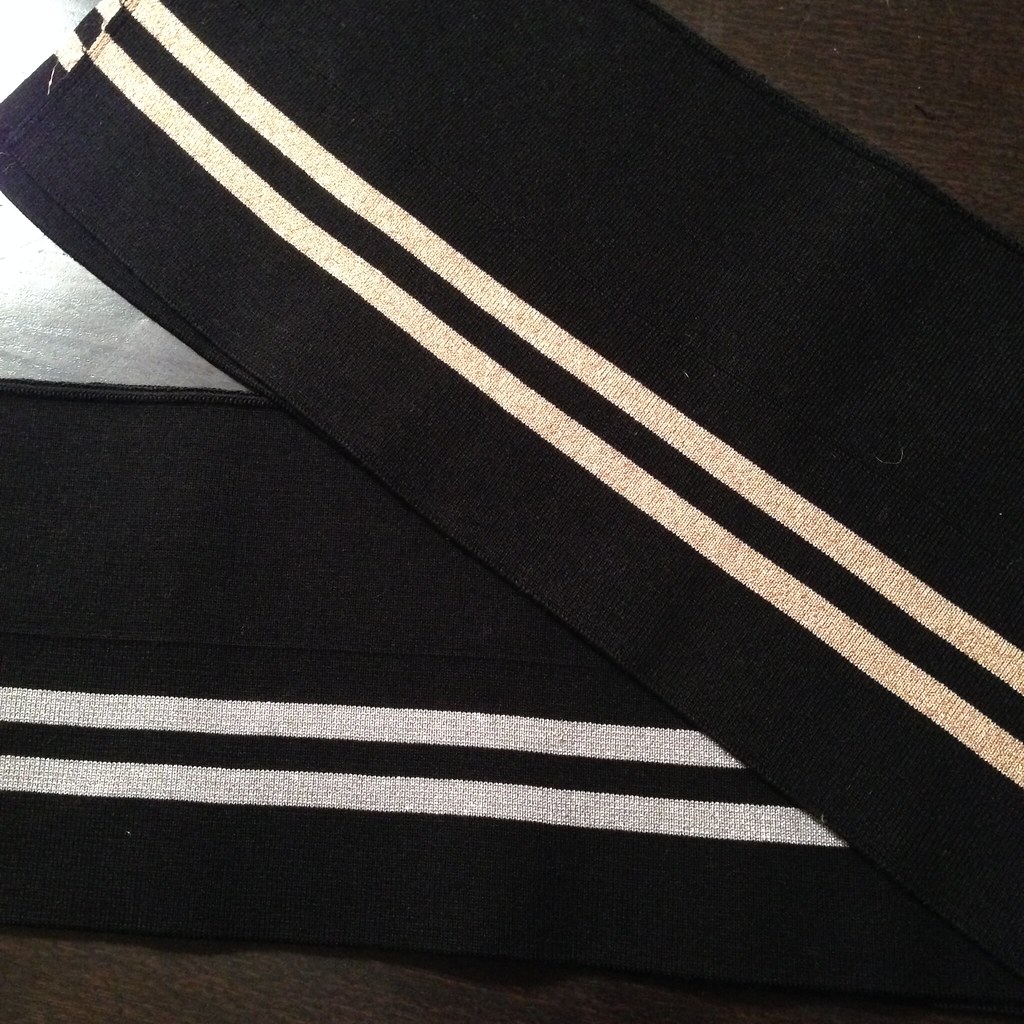
And then what really sealed the deal was Lauren went and posted a photo on instagram and listed her ribbing source. GAME OVER YA'LL.
Super fast shipping, and the ribbing I got is super high quality.
I have a potentially suitable coating for a little more substance, but I also have several great floral cottons in my stash (that I need to whittle down so that I can buy more fabric) so I'm still contemplating what I'll actually make it out of.
I really, really, like the weight and substance of the Papercut Patterns. For those that don't know - they come printed on a sturdier recycled brown paper. I just assembled my instruction booklet last night. Posts for a work in progress soon!
Labels:
papercut patterns,
rigel bomber
Friday, November 21, 2014
Completed: Renfrew the Cozy!
at
10:13 AM
When I first traced off the Renfrew, I used a size 0 with some modifications. I removed 1" from the bodice front and back, 1/2" from the sleeve length (3/4 length sleeves) and did a weird sleeve sizing experiment (which failed spectacularly, by the way) where I traced a 2 but didn't accommodate the sleeve cap change in the armscye in the bodice. As you can imagine, that was fun to figure out.
I made some alterations again last night, this time adding back the 1" and 1/2" chunks I originally removed, and extending the bands a bit. I've found when using slinkier knits, the bands don't tend to hold their shape (they kind of bunch up a little?) so I heightened those by 1-2", depending on how much fabric I have to work with. It's really arbitrary, but doesn't matter much since they're just rectangles.
The other thing I've been doing is just cutting the cowl with one layer. You really don't have to finish the edges because knits don't unravel or fray, and often times with lighterweight knits, it's a little weird to have a double layer in just that one area. Also saves on fabric, so you can get away with much less yardage than is "required". I've made this top on less than a yard. Seriously!
Last night, I made a Renfrew out of....fleece!
I originally picked up this fleece as a remnant at JoAnns. I think it was just over a yard and probably like $3-$6. Super Amaze.
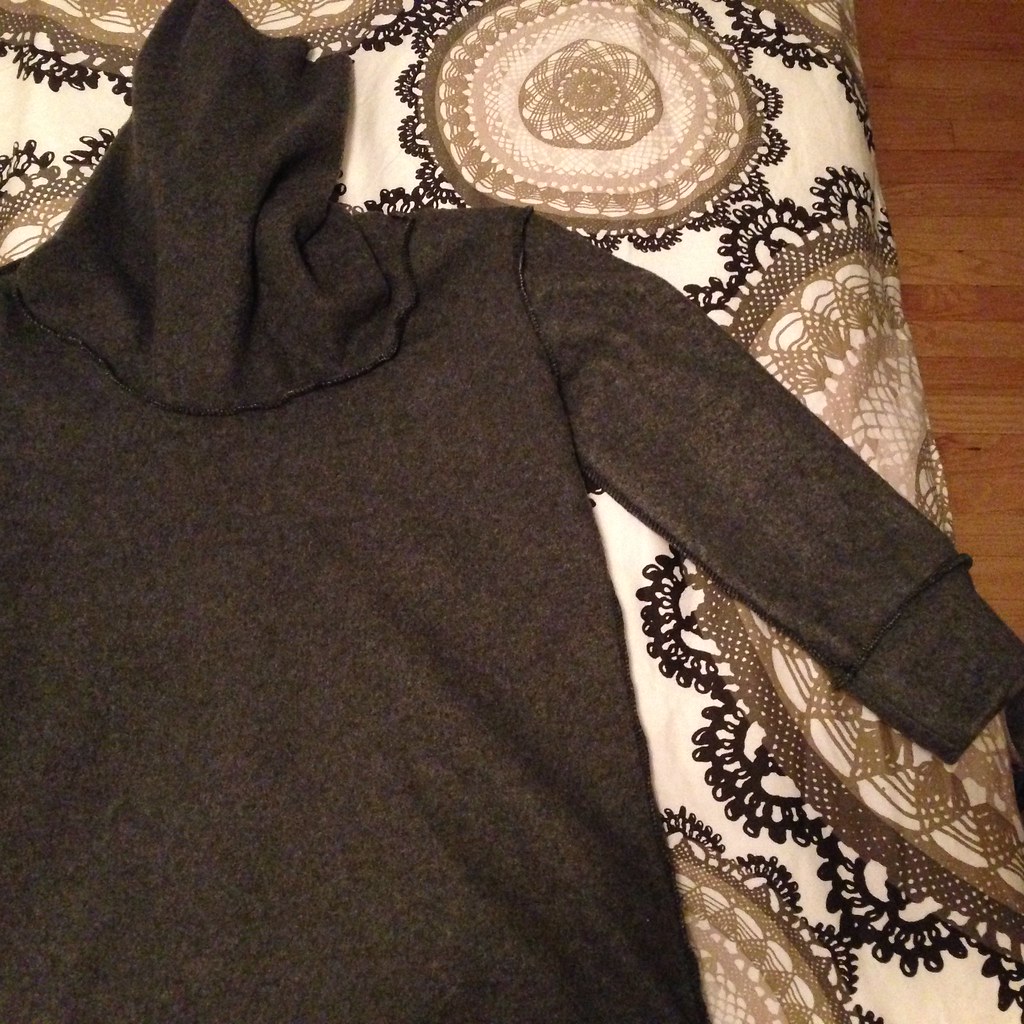
The guts are SO PRETTY. I used my serger for the entire thing (normally I use my machine and then finish with the serger)
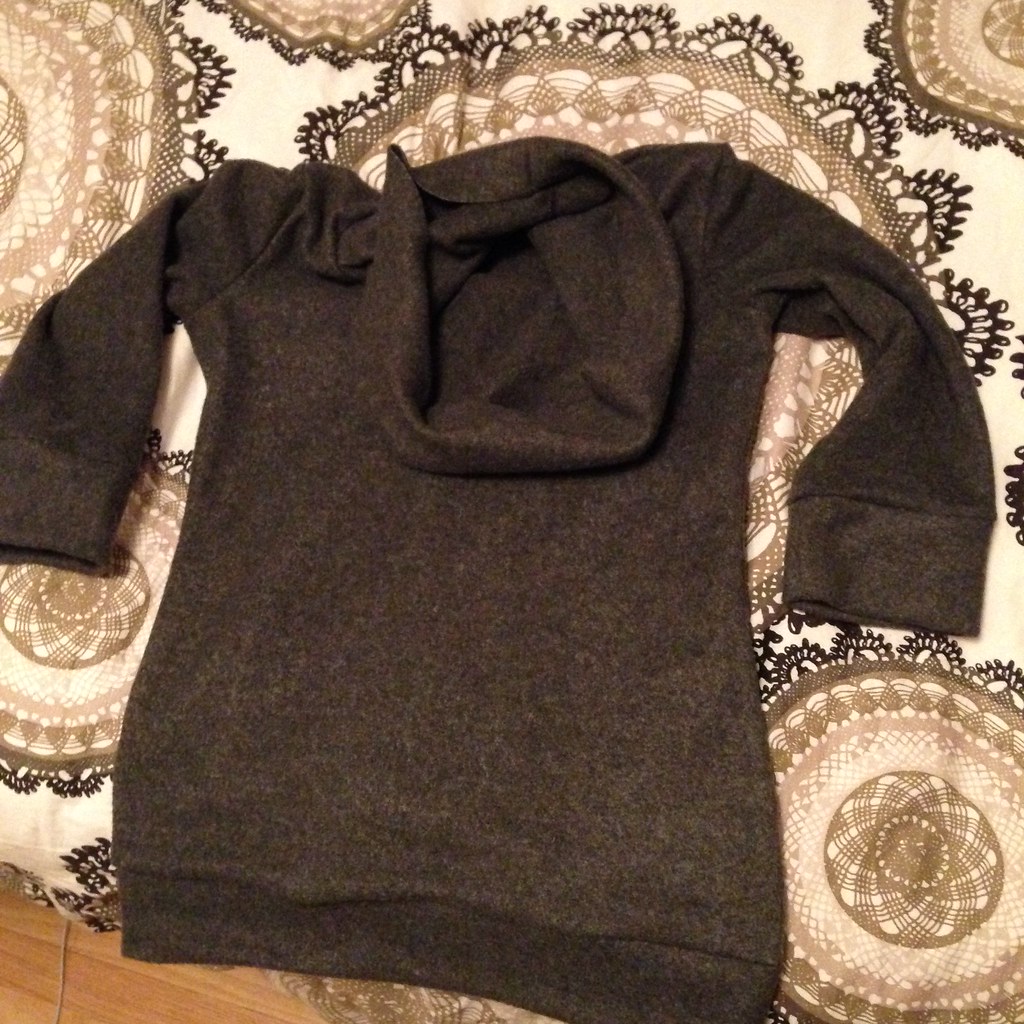
Here is it right side out. Boring, but so warm and inviting!
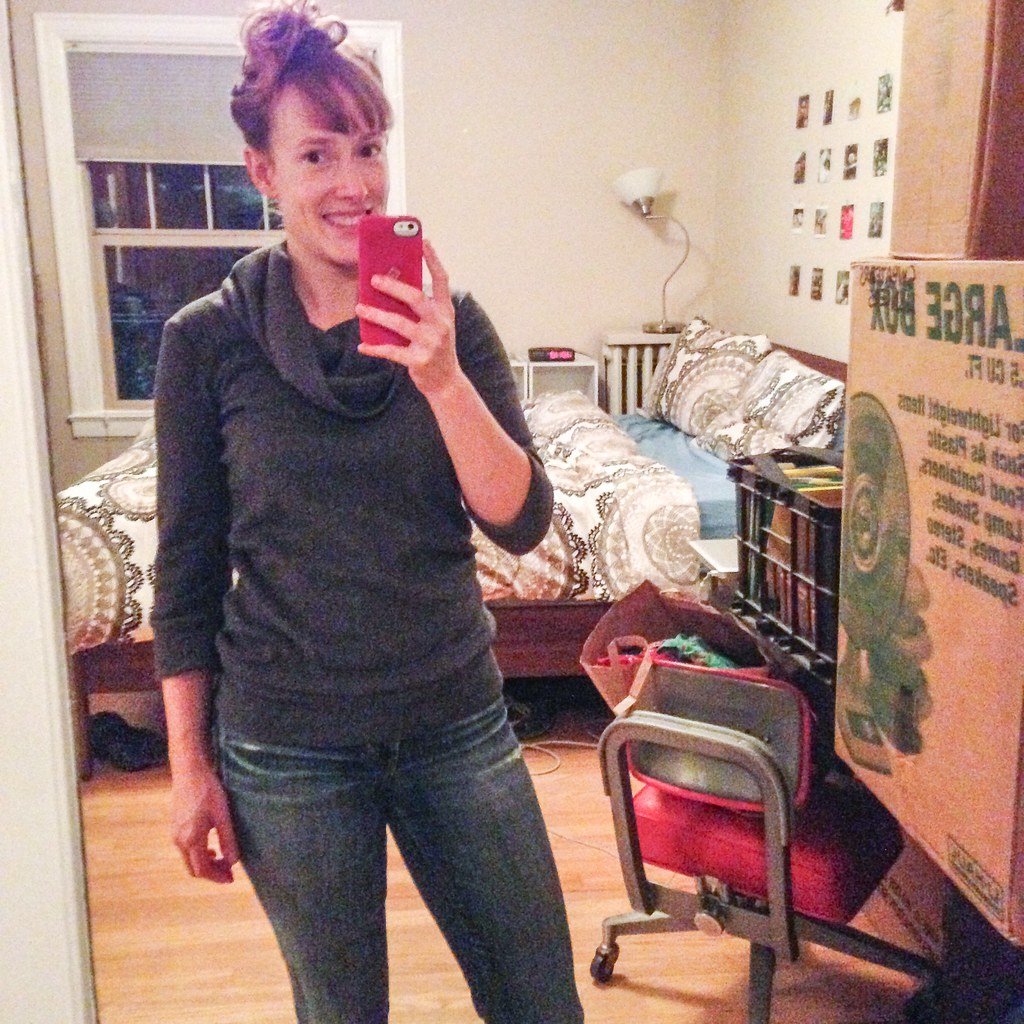
My crowning achievement - those seams are super lined-up! Especially on the serger, this has been something I've had a hard time with. I use a walking foot on my regular machine, which does help some, but I've been trying to improve this particular skill.
When you make a particular style over and over, do you notice techniques or particular things that you want to work on/fix?
I made some alterations again last night, this time adding back the 1" and 1/2" chunks I originally removed, and extending the bands a bit. I've found when using slinkier knits, the bands don't tend to hold their shape (they kind of bunch up a little?) so I heightened those by 1-2", depending on how much fabric I have to work with. It's really arbitrary, but doesn't matter much since they're just rectangles.
The other thing I've been doing is just cutting the cowl with one layer. You really don't have to finish the edges because knits don't unravel or fray, and often times with lighterweight knits, it's a little weird to have a double layer in just that one area. Also saves on fabric, so you can get away with much less yardage than is "required". I've made this top on less than a yard. Seriously!
Last night, I made a Renfrew out of....fleece!
The guts are SO PRETTY. I used my serger for the entire thing (normally I use my machine and then finish with the serger)
Here is it right side out. Boring, but so warm and inviting!
My crowning achievement - those seams are super lined-up! Especially on the serger, this has been something I've had a hard time with. I use a walking foot on my regular machine, which does help some, but I've been trying to improve this particular skill.
When you make a particular style over and over, do you notice techniques or particular things that you want to work on/fix?
Labels:
completed,
fleece,
FleeceRenfrew,
renfrew,
sewaholic
Thursday, November 20, 2014
Fabric shopping in San Francisco
at
11:21 AM
Selection!
Labels:
fabric
Tuesday, November 18, 2014
Halloween 2014 - Little Red Riding Hood
at
10:13 AM
Oops! Well, this post is a little overdue!
For Halloween, Will & I Dressed up as Little Red Riding Hood & The Big Bad Wolf.
For his costume, we hit up GoodWill and picked out an old lady housedress, complete with tassles. We got glasses that we punched the lenses out of, and I made a slapdash sleeping hat out of a remnant of quilting cotton I had laying around. (Stash bustin' - YESSSSSSS!!)
For my costume, I sewed up a quick full circle skirt using the ever handy Circle Skirt App from the fabulous Ladies at By Hand London. I had this red cotton on hand, and I've been trying to whittle away at my stash. I'm pretty sure it was an "as-is" buy from Ikea, and was born into this world as a sheet set. Does anyone else look for sheet sets for fun projects like this?
I finished the hem of the skirt with a red horse hair braid that I ordered from this seller on Etsy - fast, excellent shipping. I highly recommend!
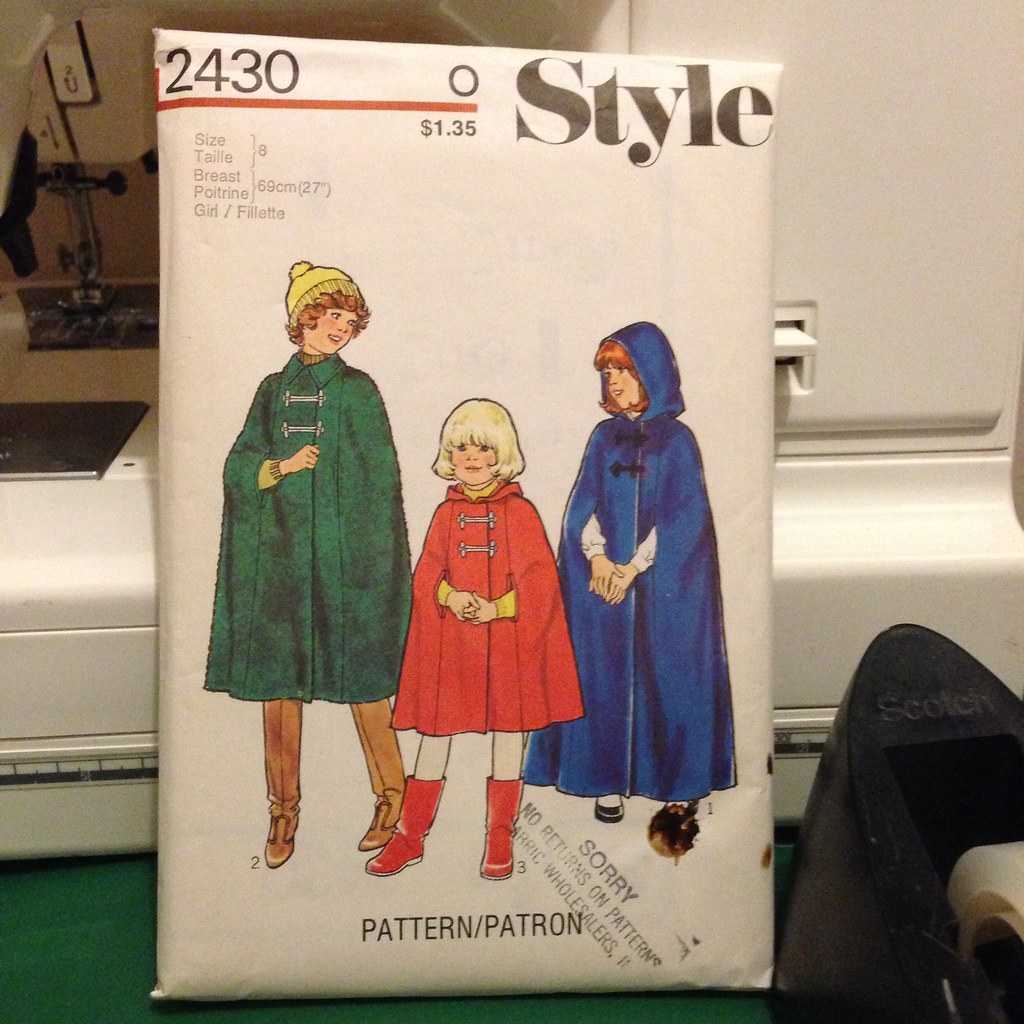
For the hood, I used that same cotton and based the hood off of a vintage pattern I have (and can't remember the name of right this second).
Found it!
For the bodice of the cape, I basically drew out the length of the edge of the hood, and cut it on the bias and attached the two. I fully lined the red cape with red and white gingham I found at Goodwill (I think a yard length was $5??) so no seams showed at the neckline.
I finished the edge of the cape with the rest of the horsehair braid I had. Ties were made with red grosgrain ribbon I had on hand - easy peasy!
The silly little apron was made with another stash piece - a 100% modal sheet. I basically made a long waist tie, a middle piece and a longer ruffle for the bottom. Modal is a bitch cut out. It is super, super drapey and shifty, so the ruffle ended up uneven, but Halloween so who cares!
Total cost of my costume: $20.95
$14.95 - horsehair braid
$ 5.00 - gingham fabric
$ 1.00 - basket
Will's Costume: $22.98
$9.99 Granny Housedress
$4.99 Glasses
$8.00 Mask
Found it!
For the bodice of the cape, I basically drew out the length of the edge of the hood, and cut it on the bias and attached the two. I fully lined the red cape with red and white gingham I found at Goodwill (I think a yard length was $5??) so no seams showed at the neckline.
Wednesday, October 22, 2014
But I've been sewing!
at
10:08 AM
I have all of the drafts. I keep not updating because I want to play catch up, but obviously that is not going to work. Here is my shame, plus additional undrafted drafts:
Okay, anyway. Several things to talk about!
1. I was laid off this summer, which was magical for my sewing 'jo. Instead of individual posts, here are photos of some stuff I made! Sadly, I don't have photos of everything I did. Oh well!
Mc Calls 5850 - I added the halter strap for a "countrified cocktail" wedding we went to.
Obligatory matching clutch (it's lined in the ice creams fabric!)
renfrew! (plus another renfrew i don't have a photo of? that one I had to hack by adding a seam up the center back to get it all cut out. very little fabric. I am in love with this pattern)
Okay so I didn't make this. But HOLY COW. I have some complaints about the quality of construction, though. The problem is that I could not walk away from it. I mean, LOOK AT IT. This was made by a "local designer" but the quality is lacking. The zipper is too long, was not trimmed to size, the installation of the zipper itself isn't great (looks like a first zipper), this is a fully lined dress but there is no understitching - instead, there is zig zag top stitching throughout in a mismatched green thread. The sleeves aren't the same length.
BUT LOOK AT IT THOUGH. I over paid. I came home from the store and tried to find a pattern to make this myself. No dice. I went back to the store and bought it.
new sewing closet!
Okay, anyway. Several things to talk about!
1. I was laid off this summer, which was magical for my sewing 'jo. Instead of individual posts, here are photos of some stuff I made! Sadly, I don't have photos of everything I did. Oh well!
Mc Calls 5850 - I added the halter strap for a "countrified cocktail" wedding we went to.
Obligatory matching clutch (it's lined in the ice creams fabric!)
BHL Anna/Circle skirt mashup thing
renfrew! (plus another renfrew i don't have a photo of? that one I had to hack by adding a seam up the center back to get it all cut out. very little fabric. I am in love with this pattern)
Okay so I didn't make this. But HOLY COW. I have some complaints about the quality of construction, though. The problem is that I could not walk away from it. I mean, LOOK AT IT. This was made by a "local designer" but the quality is lacking. The zipper is too long, was not trimmed to size, the installation of the zipper itself isn't great (looks like a first zipper), this is a fully lined dress but there is no understitching - instead, there is zig zag top stitching throughout in a mismatched green thread. The sleeves aren't the same length.
BUT LOOK AT IT THOUGH. I over paid. I came home from the store and tried to find a pattern to make this myself. No dice. I went back to the store and bought it.
new sewing closet!
2. We moved! The sewing closet is going to be *amazing*. I have lots of plans to transform this closet. To my right in the above photo, is a great alcove where I'm going to put a built-in desk. Plus shelves, all of the shelves. I hope to sew through a larger portion of my stash than I have in years past, because fabric is taking up the bulk of space right now.
3. Halloween. I love halloween. This year, I intend to be Little Red Riding Hood! I've ordered red horsehair braid for a red circle skirt hem. I am unsure about the top construction - most photo results are "sexy" and I prefer to avoid that. I might do a plain white peasant top and a red/white gingham frilly apron. Picnic basket and a cape and I'll be all set!
I think that's it. I hope to be around more!
Labels:
5850,
anna dress,
by hand london,
clutch,
completed,
coppelia,
mccalls,
moving,
renfrew,
sewaholic
Subscribe to:
Posts (Atom)