header

Tuesday, June 23, 2015

Completed: McCalls 7073 in a Floral Knit

My poor sad, totally neglected blog!! The more I make stuff, the less I seem to post about it. I’ve made a whopping ELEVEN garments that are just waiting for….something to freeze over so I can finally get some decent photos and post them here! ANYWAY. Finally, a post!

I recently had the good luck of connecting with a seller on Etsy who was closing her vintage pattern store, and I was able to score around 50 vintage patterns spanning the 30's - the present, for about a buck a piece!

This is a Very 80's pattern, from the "Make it Tonight, Wear it Tomorrow!" series by McCall's, currently listed here on etsy.

Now, this is a size 4-6 (petite) but, as the big 4 do, it contains all of the ease known to man. Here it is, in all its unflattering, unbelted glory. MUUUUUMUUUUUU


Obviously this thing needs a belt, like, pretty bad. My first thought was, "Oh, I have some 3" elastic kicking around in my sewing closet, I'll just cover it with self and NO ONE WILL KNOW."

Be honest. IS MY BELT SHOWING?


Guys, this also looks, uh, not great. I swear there is a 3" strip of self covered elastic at my waist. While we're at it, we should also play spot the motorcycle engine.


Ok ok. It's really not that bad now that I've put on a regular belt. I should also mention that I took off like, 2" from the sleeve length so that this mumu wouldn't turn into a caftan. Not that there's anything wrong with that, but that wasn't the look I was going for.


I went lazy style and finished all the edges with rolled hem alá my serger, but in hindsight, if I make this again, I'll make a bias facing for at least the neck.


Here I am in my livingroom, turning in a circle so you can see it all.


I honestly don't know if the hem is uneven, of if there is so much fabric that I had to squeeze with the belt that the BELT is making it look uneven. Clearly the only solution is to wear this around town without a belt.


What else. I think I cut the front on the fold so there wasn't another collision on my front to stare at.


I like this pattern, it was pretty easy to put together and it's got good shoulder coverage, which is nice for summer time.


Next time, I'm gonna trim out like, 5" on each side. For realsies.

Friday, May 22, 2015

Completed: Oxford & Floral Cross-Back Tank

This is the redo of my first attempt at the cross back tank, this time in oxford and quilting cotton. I made several changes to the pattern, after that first go round, including reducing the back piece by 1” width wise, and reducing the front piece by about 1” as well.

This resulted in a tighter fit, which was welcome after the first version. If you remember, I had to take the front in so I just chopped and put a seam up the CF. Not my finest fix under pressure but….


The weird thing about this style in general is that there is a lot of shifting in the shoulders and the back pieces, so it doesn’t really stay put in the way you might expect it to. Or at least, as I had expected it to.


And, here it is on my actual person:


The shoulders tend to creep up my neck, so I find that I’m adjusting them frequently when wearing. Bra coverage is actually quite great; I’m wearing a longline Watson in this photo.


Wednesday, May 20, 2015

Completed: Morris x2!


I have been stocking up on knit fabrics lately, and the one thing I feel the sewing world is lacking is a good set of knit patterns.

Grainline went and introduced Morris, and it’s a total show stealer. And just like those Watsons, I’ve gone ahead and made not one, but two!

Version 1 is made up of a blue floral textured double knit and a standard cotton lycra knit for the arms. This was my first time working with a double knit and it was amazing, and now I want to make everything out of double knit. This was stable and plush. It took topstitching very well.


I did not press well, unfortunately, but I was able to get the collar and shawl front to hold some shape because of the knit interfacing.

This photo is the most accurate portrayal of colors.


This is a super fast make, with a back, front sleeve, and the facings. The instructions are clear, and if you’ve been sewing for a long time, you may not even need to look at them.


I did go a little off book for the cuffs, though. I did not interface the cuff facings. Instead, I did not trim the seam allowance, folded it up towards the shoulder seam, and then folded the cuff edge down to meet in the middle with the SA. I then flipped that whole business over to the inside of the sleeve and topstitched from there. This was stable enough, and felt decidedly less fiddly than interfacing and trimming. So slapdash.


Version 2 is baaaaasically the same jacket, but in a *different* colored textured double knit!


I made this up in about 2 hours, including cutting! I also fibbed and didn’t gather the sleeves before setting them. What can I say, I’m lazy! Next time I’ll actually try setting them in flat and then serging up the side and arm seams all together.


Since the jacket is made of knit, it’s so easy to wear. I feel dressed up but I’m as comfortable as wearing pajamas.

Lastly, because it’s Mabel Month over at Colette Patterns, I uh, made a #POWERSUIT?


It looks less #POWERSUITY by itself:


Don’t judge. Mabel is a fantastic pattern, and I’ll be posting my full thoughts and other makes on it soon.

Monday, May 18, 2015

Completed: Floral Archer Popover, in a Knit!


I made Western Shirt for ManFriend and then all the sudden my head exploded about shirt making and how awesome it is.

The thing for me, though, is that I don’t tend to wear button up shirts. I own several, and they’re nice, but I don’t end up wearing them. I realize that this is partially because most of them are white, and I usually ruin anything that’s white. It's also partially because they don't fit me correctly.


I like the idea of the popover style, because you get the fanciness of a button up, but the safety of a shirt that isn’t buttons all the way down.

I got this floral cotton knit in a KnitFix shipment from GirlCharlee, and it screamed archer to me.


I used Pam Erny’s two piece sleeve placket (I’ll never use another placket again, basically) for the sleeves, and extended it to about 11” for the front placket.


(I’m trying to show you the sleeve placket!)

The first sleeve placket I didn’t interface, which I think as a mistake. I ended up using some knit fusible interfacing for the second one and it went off much better.


I made a size 0, and aside from the plackets and pop-over, didn’t make any other modifications. I know this is supposed to be a very slouchy, loose fit, but I’d like to take the shoulders in a touch. Other than that, the sleeve length is great, and the overall length is perfect, too.


I used white pearl snaps instead of buttons. Highly recommend this pattern!

Friday, May 15, 2015

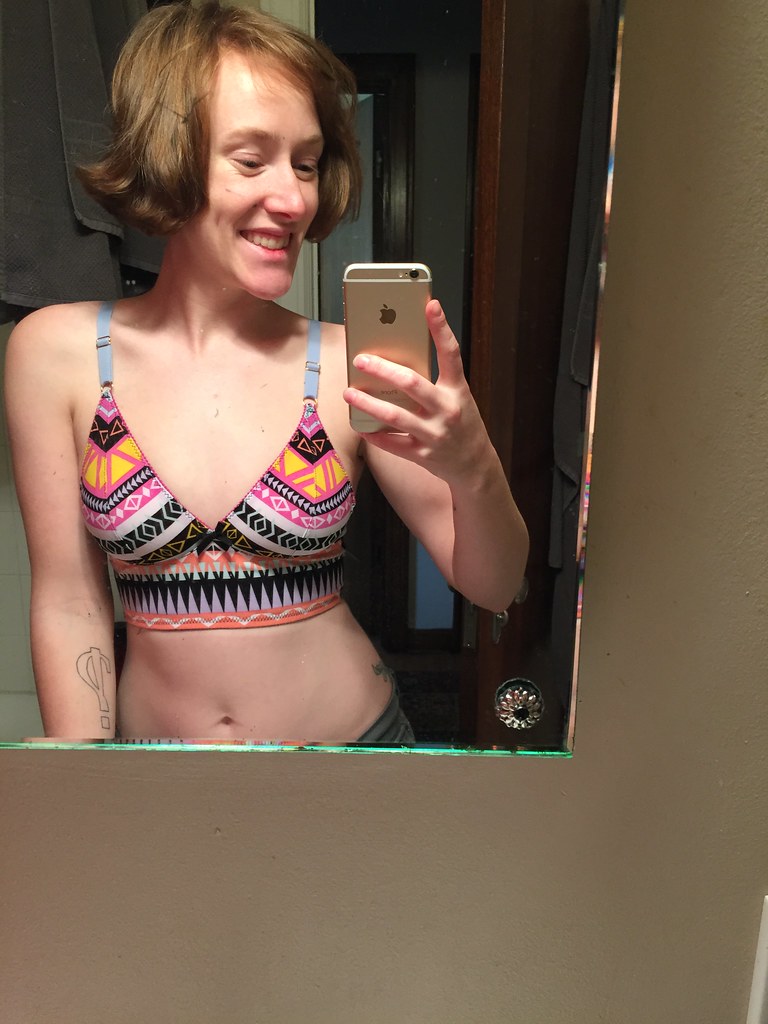
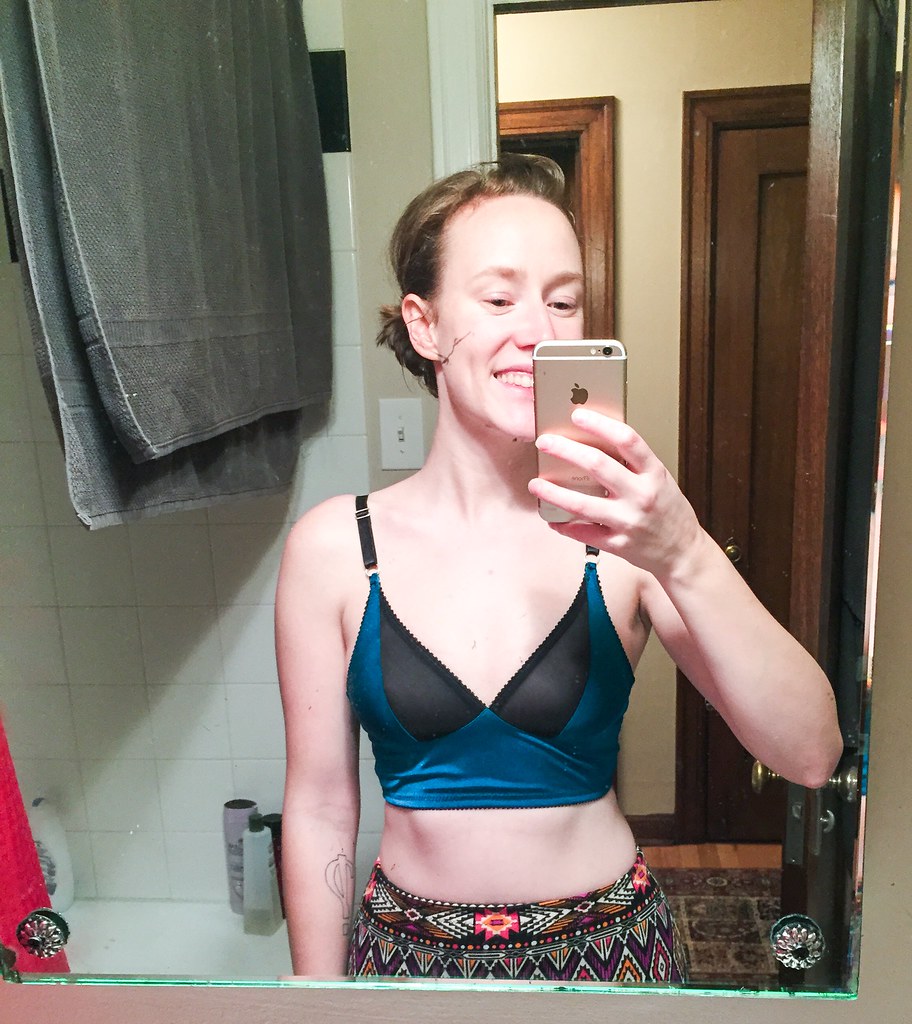
Completed: Double the Watson Fun

My mom always said if you find something you like, you better buy two.

I suppose this could also be applied to sewing, too?! The Watson is so fun and easy to make, with incredibly satisfying results, so I cut two at a time and put them together one right after the other!

Version 1:


I wasn’t sure which notion color ways I should go with, my options being a purple/orchid/hot pink mashup or a more subdued faint blue.


I used a verrrrry stretchy spandex knit I bought in San Francisco, and went out on a limb and stabilized the cradle with some left over Oxford Shirting. I’d say it worked out just fine. This bra feels more or equally as stable as the others, which were stabilized with nylon tricot.


I used gold rings and sliders, and I worked really hard to match up the cup prints. I think it turned out pretty good for such a wiley fabric!

One thing I will be changing on my next iteration is how the straps attach to the rest of the bra in the back.


Right now, the straps have to make a turn once they reach the top of the back band, and are sewn along the top of the back band. I’ve modified my pattern pieces and will be testing this out on the next iteration: I smoothed the back band piece to gradually size down to the triple hook and eye, and instead I’ll extend the under-arm elastic all the way to the hook and eye. The strap will come straight down and end at the back band.

It looks like a bikini, so here:


For Version 2:
I used a kit from Blackbird, and I cut the inner cups from power mesh.

You can really see the bend of the strap on this one:

It will can be come twisted and be uncomfortable. I’m really hoping my planned change will work out.


This is a teal milliskin and I really like the shine. The fabric has a stable stretch and is incredibly soft and comfortable.


Previous Post Home