


I have been horrible about blogging of late, or possibly historically. I originally started this blog about 4 years ago. Then I stopped sewing due to life, and picked it back up again. Just because I haven't been blogging, that doesn't mean I haven't been sewing! Hoo Boy! No! I've been so busy.
First, I'd like to share with all of you, the list that I made, which details the things I wanted to get done this weekend. I left the list on my desk on Friday. BOOOO!

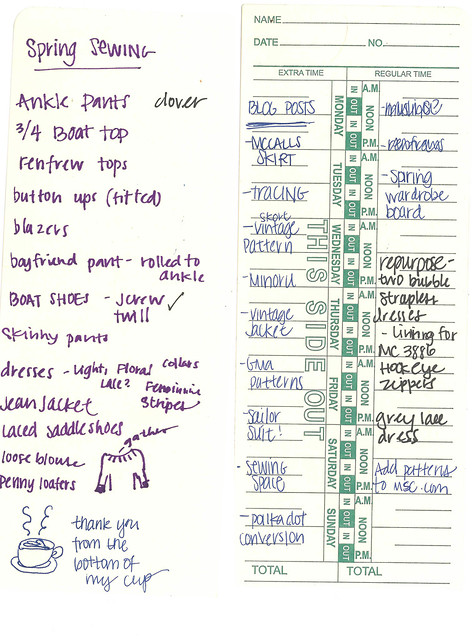 |
| As you can see, I've got HUUUUGE aspirations. |
Now. My goal is to post at least once a week, even if it is just a single photo of what I'm working on.
Here is something I recently finished:
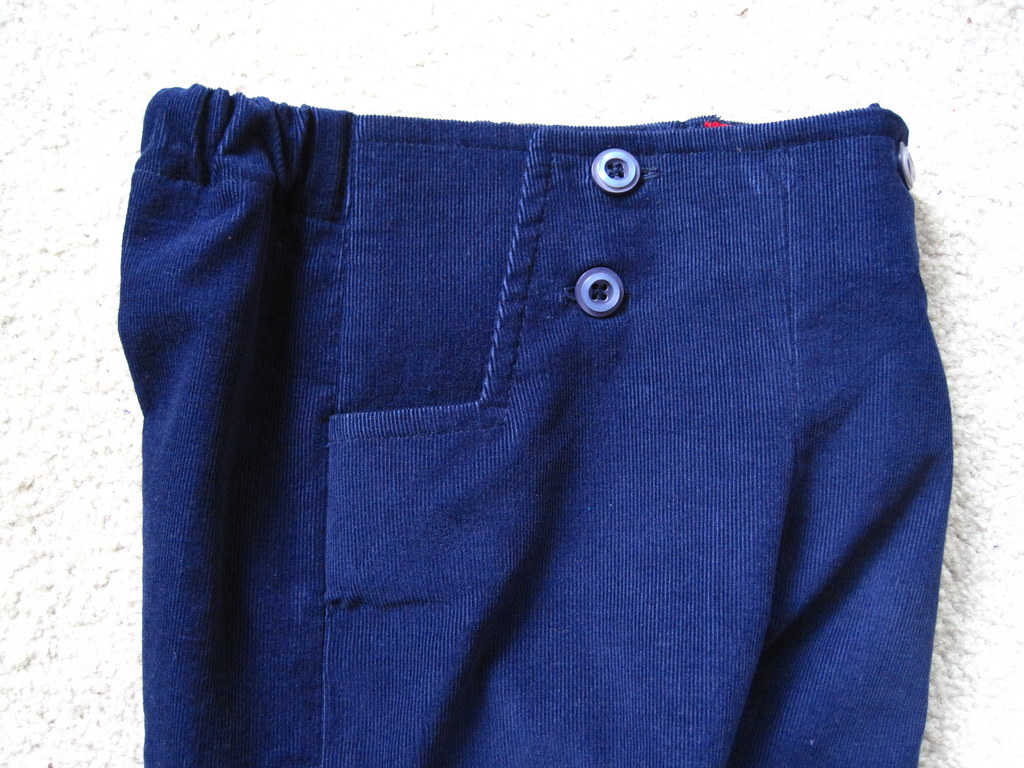
A pair of tiny pants for an upcoming tiny human!
 |
| Oliver + S Sailboat Pants! |
The Oliver + S Sailboat Pants are amazing. They came together really well, after a short mishap with my sewing machine's automatic buttonhole feature. Yes, I did indeed make SEVENTEEN practice holes to finally figure out what was going wrong.
In the end, I garnered success and the pants are put together. I finished most of the seams with a red bias tape. I used baby whale navy blue corduroy. That stuff is extremely fuzzy. I pre-washed all my fabric, and Holy Fire Hazard in the lint trap! The fuzz all over my sewing table at this point is enough to card together to make another piece of fabric.
Let's see more shots, shall we?
 |
| BAM! Buttons! Button Holes! Topstitching! |
 | |
| I love the shape of the "pocket" area. |
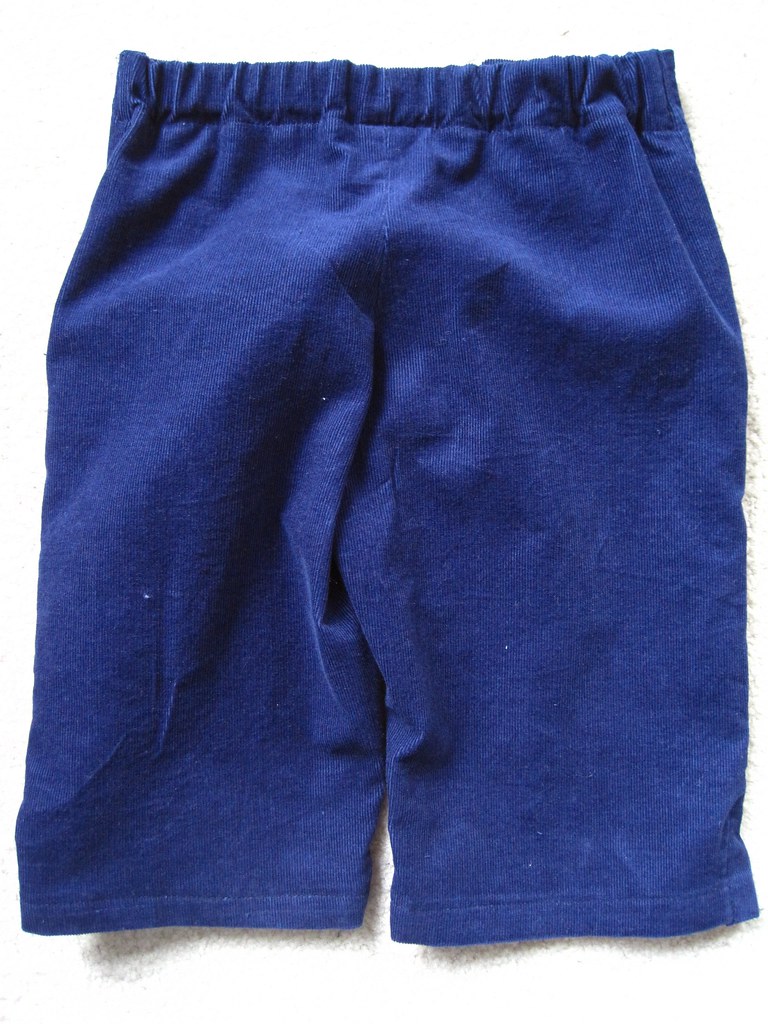 |
| Seat, cute elastic gathering only in the back. |
 |
| Red Bias tape finish on the facings. |
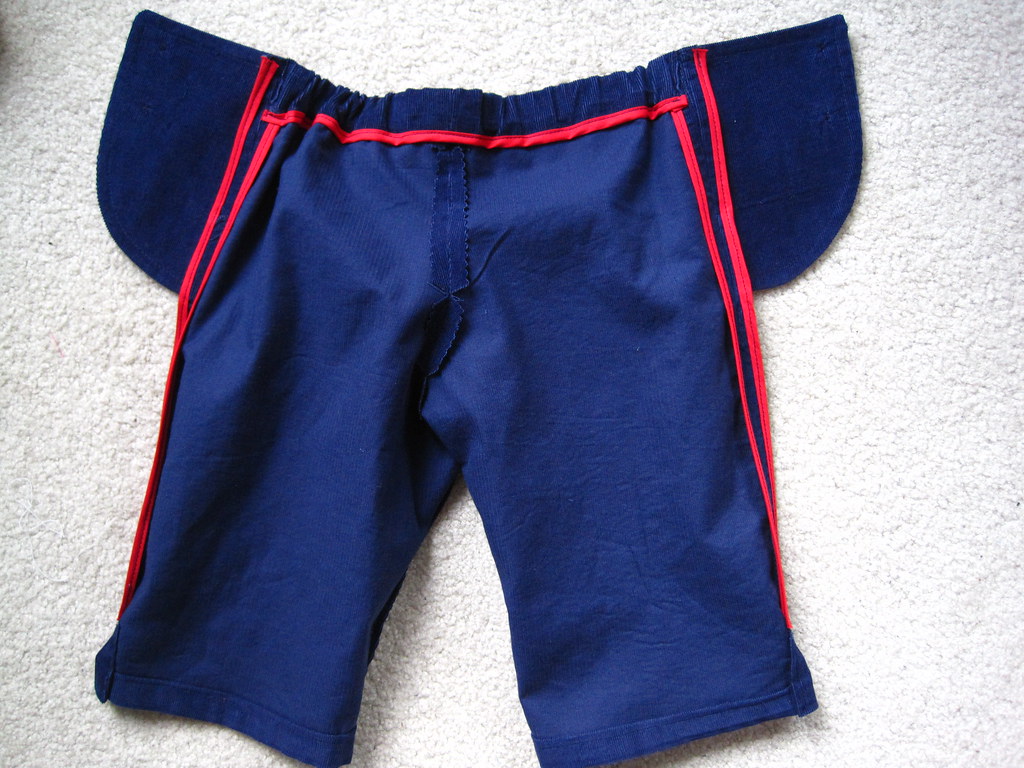 |
| Interior rear. |
 | |
| Interior front. |
Why red bias finish, you ask?
Because I'm also making the sailor top to match in a really great red, white, and blue plaid.
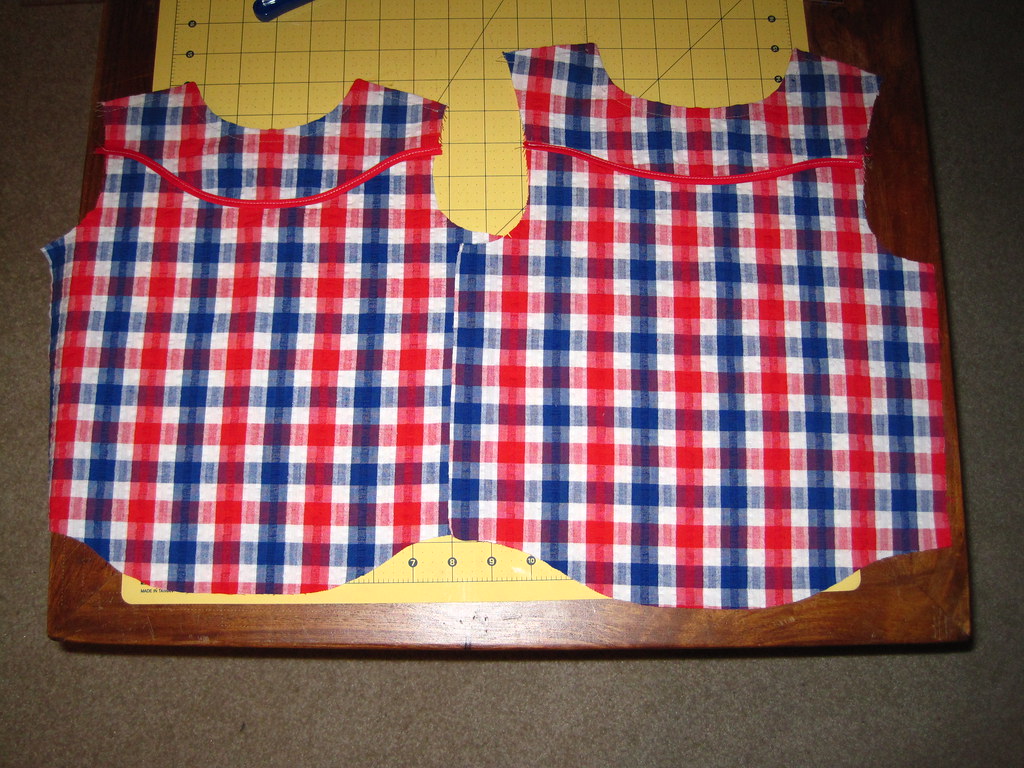 |
| Interior Sailor Shirt front on the left, Interior Sailor Shirt back on the right. |
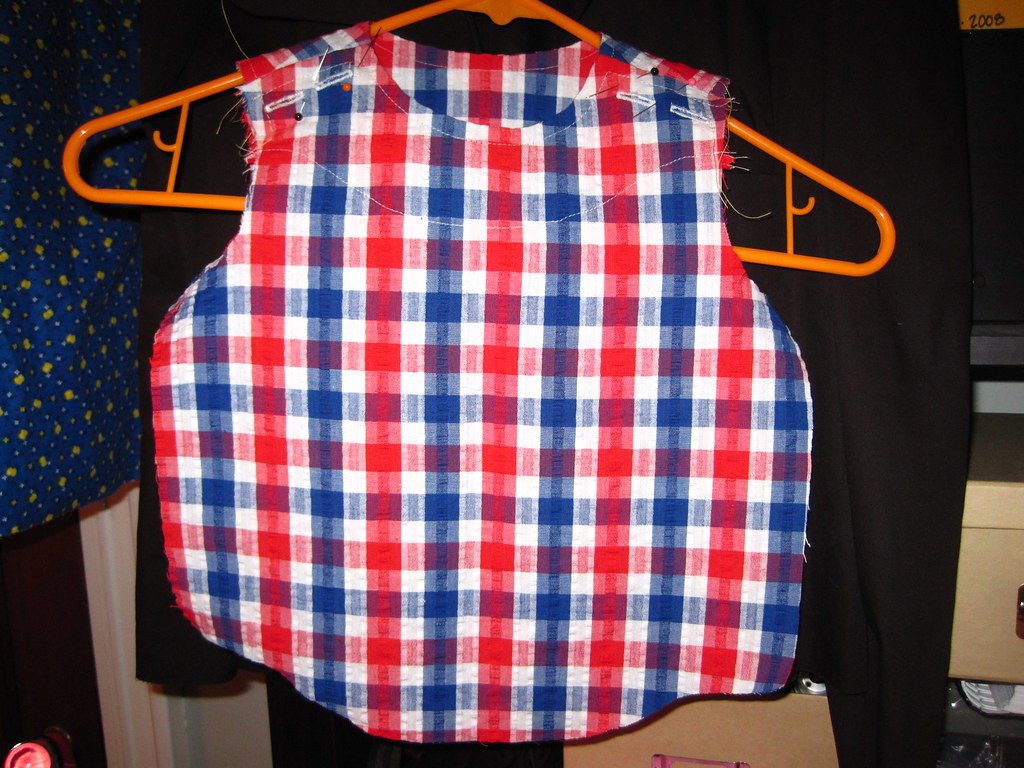 |
| Basted together at the top, see the cute buttonholes! |
In the interest of brevity, I'll end the post now. I will be updating again (hopefully sooner than later!) about the Mad Men Dress Challenge, and some of the other items I put on my list above!!


No comments:
Post a Comment